iPod Classic 120GB (5th Gen Enhanced) Battery Replacement (Original HDD)
iPod Classic 120GB (5th gen enhanced) dying fast or only works plugged in? Here’s how we replace the battery safely with the original hard drive installed.
Apple iPod Classic 5th Gen (120GB) Battery Replacement With Original HDD
If you’re rocking an Apple iPod Classic 120GB (5th Gen Enhanced) and it’s dying fast, shutting off randomly, or only working while plugged in, you’re almost always looking at a worn-out battery. The good news: this model is still very serviceable—no heat, no glue, just careful opening and clean handling of the internals.
This post covers how we replace the battery in a 120GB iPod Classic with the original hard drive still installed, plus the common gotchas that can turn an easy job into a broken housing or pinched cable.
Symptoms of a Failing iPod Classic Battery
Most battery failures show up as:
- Drops from full charge to dead quickly
- Shuts off when skipping songs (HDD spins up and voltage dips)
- Won’t power on unless connected to a charger
- Battery percentage jumps around or gets “stuck”
- Takes forever to charge and still doesn’t last
With an original HDD iPod, weak batteries are even more obvious because the drive needs extra power to spin and read.
What You Need
Parts
- Replacement battery for iPod Classic 120GB (5th Gen Enhanced)
Important fitment note (120GB + original HDD):
Because the original hard drive takes up space, you typically can’t fit the extra-thick “extended” batteries unless the iPod has been converted to flash storage. For an original 120GB HDD build, you usually want the standard/thin battery that matches stock fitment.
Tools
- Plastic iPod opening tool / thin spudger
- Small Phillips driver
- Tweezers (helpful for routing)
- Optional: Kapton tape / thin double-sided tape
What not to use
- Metal screwdriver for prying (easy to gouge the case and short components)
Step-by-Step: Battery Replacement (120GB 5th Gen Enhanced)
1) Power Down and Lock It
- Slide the Hold switch ON (orange showing)
- Disconnect any cable
2) Open the Housing Carefully (Clips Around the Edge)
The Classic uses internal clips all around the perimeter.
- Start on the right-hand edge (usually the easiest entry)
- Insert a plastic tool between the front and back shells
- Pop clips one at a time—work slowly around the edge
Shop tip: The back shell bends easily. If you pry too hard, you’ll permanently warp it or crease it. Think “clip release,” not “can opener.”
3) Open Like a Book — Don’t Yank
Once the clips release, open the iPod gently. You’re going to see the battery and the internal assemblies.
On this model, you can usually open it enough to work without fully removing everything, but always move slowly—there are cables and connectors that don’t like being stretched.
4) Disconnect the Battery From the Logic Board
Find the battery connector on the logic board and unplug it:
- Use a spudger to lift the connector straight out
- Never pull the wires—that’s how battery leads get torn off
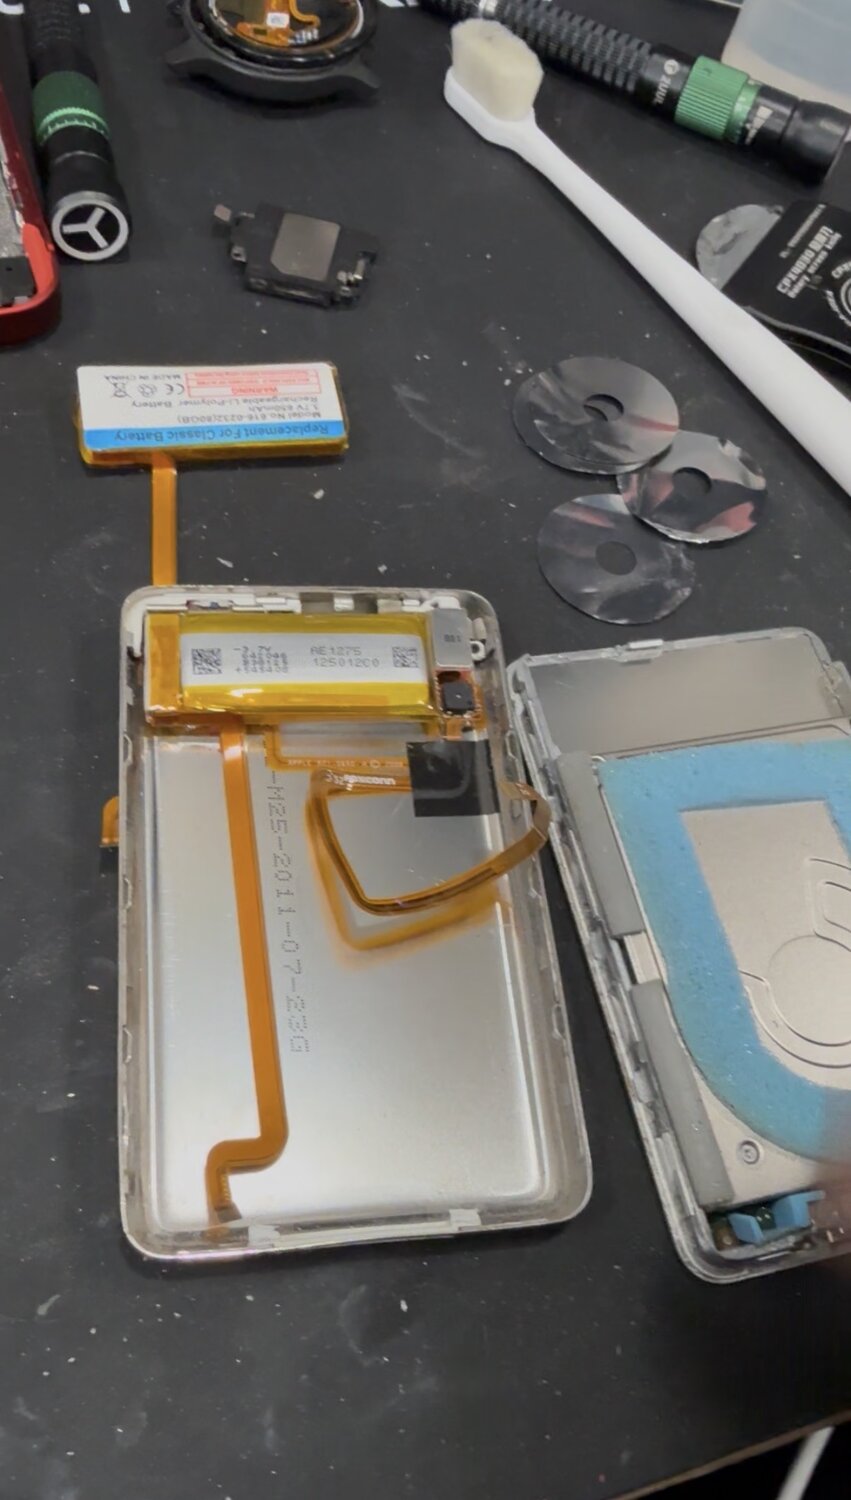
5) Remove the Old Battery
The battery is commonly lightly adhered.
- Lift it slowly
- If it’s stuck, work a plastic tool underneath
- Don’t puncture or bend the battery (swelling and failure risk)
6) Install the New Battery (Stock Fitment for HDD Builds)
- Place the new battery in the same position
- Route the cable cleanly so it won’t pinch during closure
- Plug the connector back into the board
120GB HDD reminder: If you try to force a thicker battery into an original HDD build, the iPod often won’t close—forcing it can pinch the cable, stress the frame, or pop the clips back open.
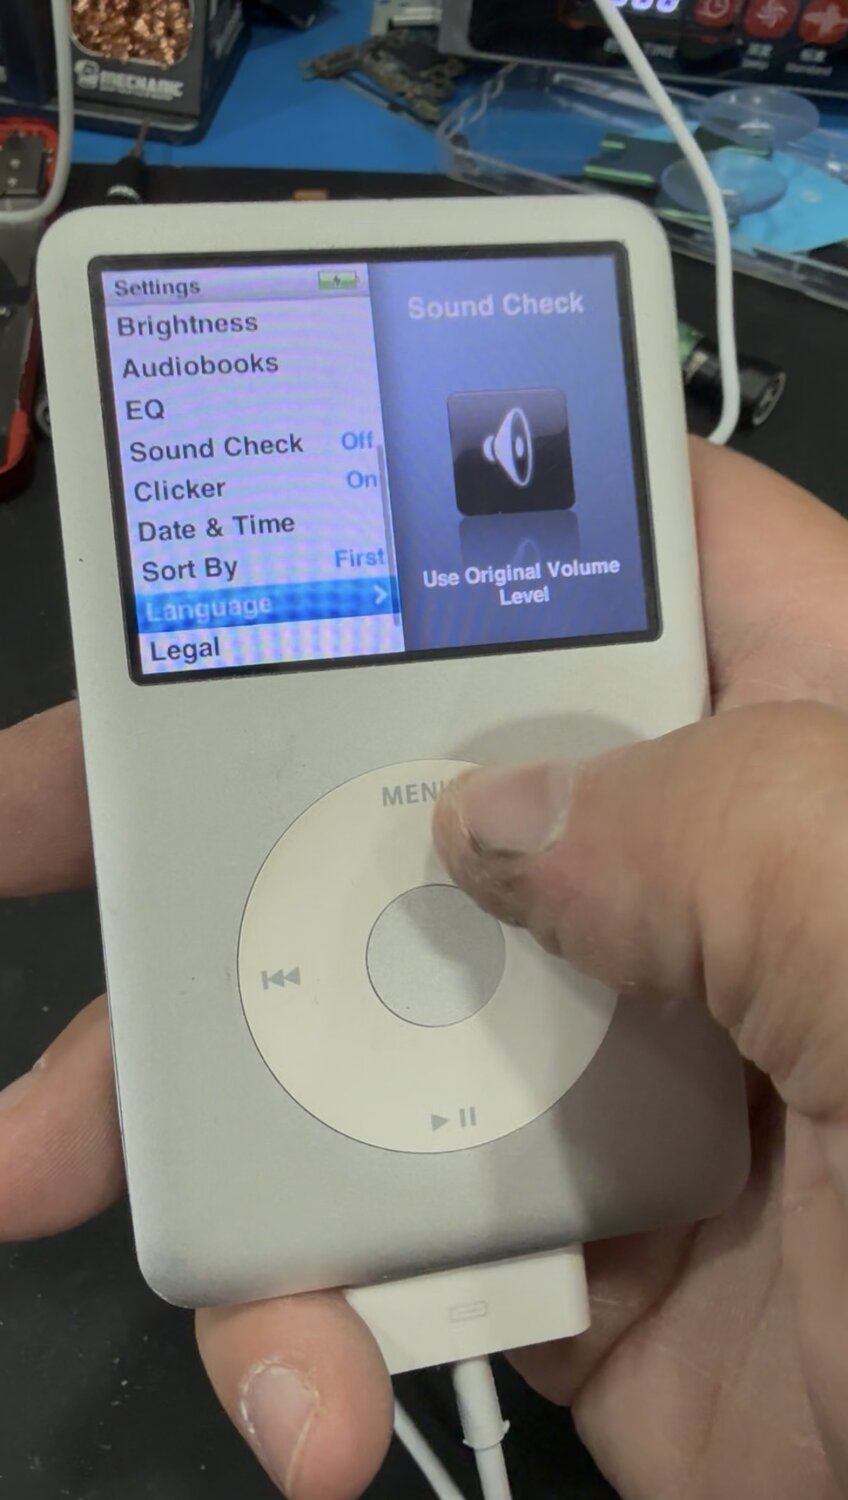
7) Test Before Closing
Before snapping the housing shut:
- Toggle Hold off
- Power on (Menu + Select if needed)
- Confirm: boots, scroll wheel responds, and it starts normally
If it doesn’t power:
- Re-seat the battery connector
- Confirm Hold isn’t still on
- Plug into power for a few minutes and retry
8) Close the iPod
Align the frame and press around the perimeter until the clips snap in.
If it won’t close smoothly, stop and re-check:
- cable routing
- battery position
- anything sitting proud of the frame
After the Repair: Battery Calibration
For best battery reporting accuracy:
- Charge to 100% (leave it another 30 minutes)
- Use it until it shuts off
- Charge uninterrupted back to 100%
Why This Repair Matters More on an Original HDD iPod
The original hard drive draws more current than flash storage. A weak battery can’t supply stable power, so you get:
- random shutdowns
- freezes during song changes
- boot loops
- “dead unless plugged in”
A fresh battery restores stability, not just runtime.
Need a repair like this?
Book a repair or message us and we’ll get you taken care of.